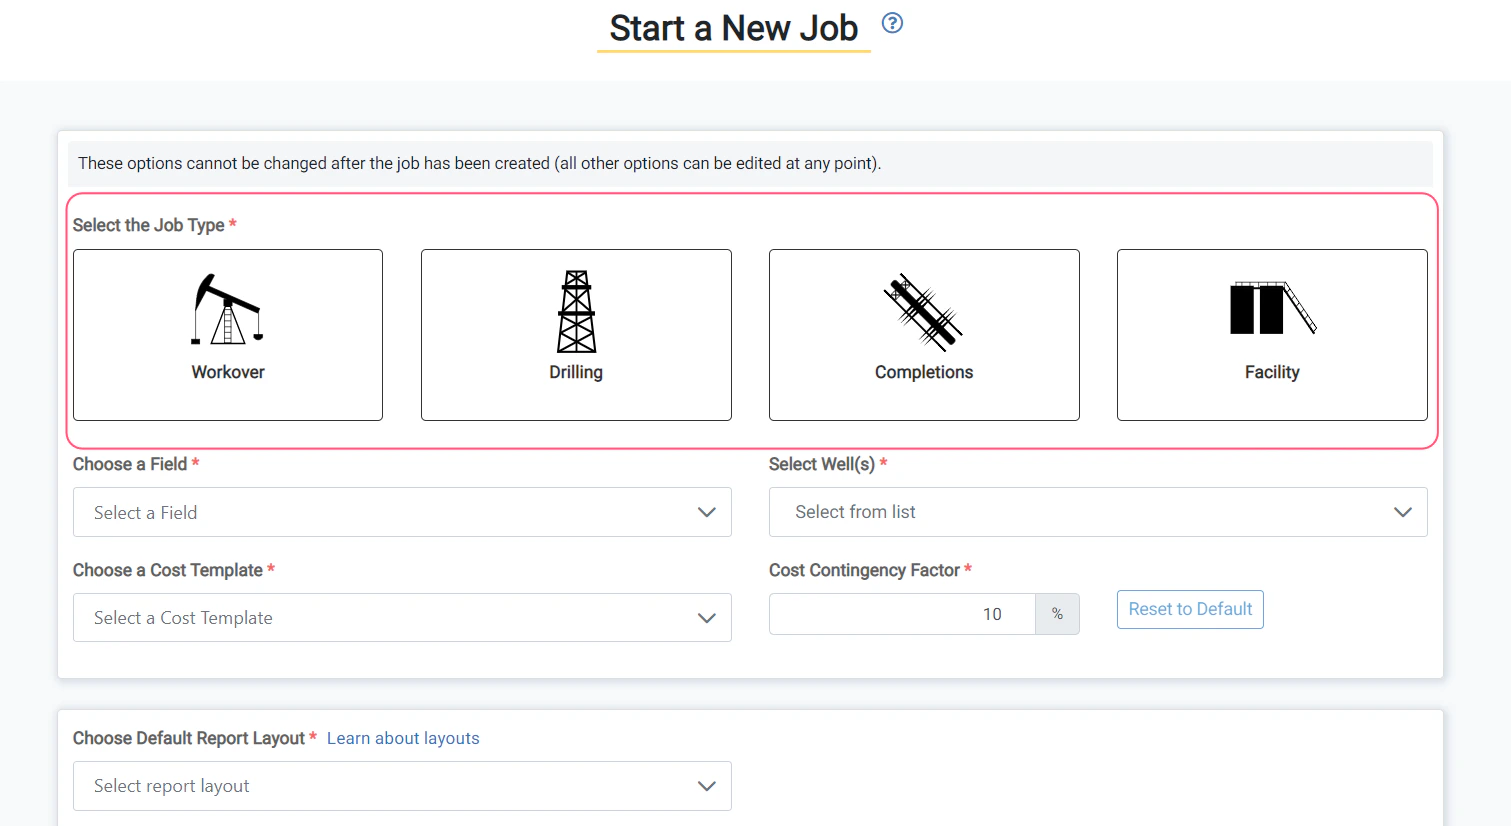
Select Start a New Job

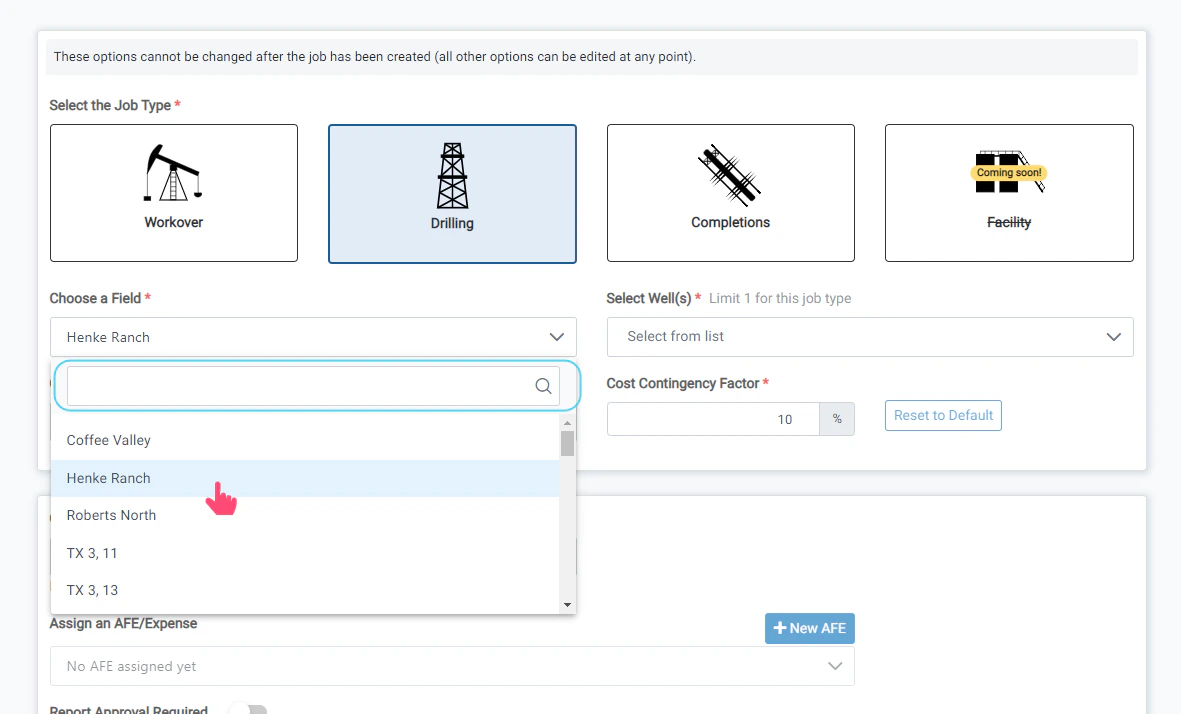
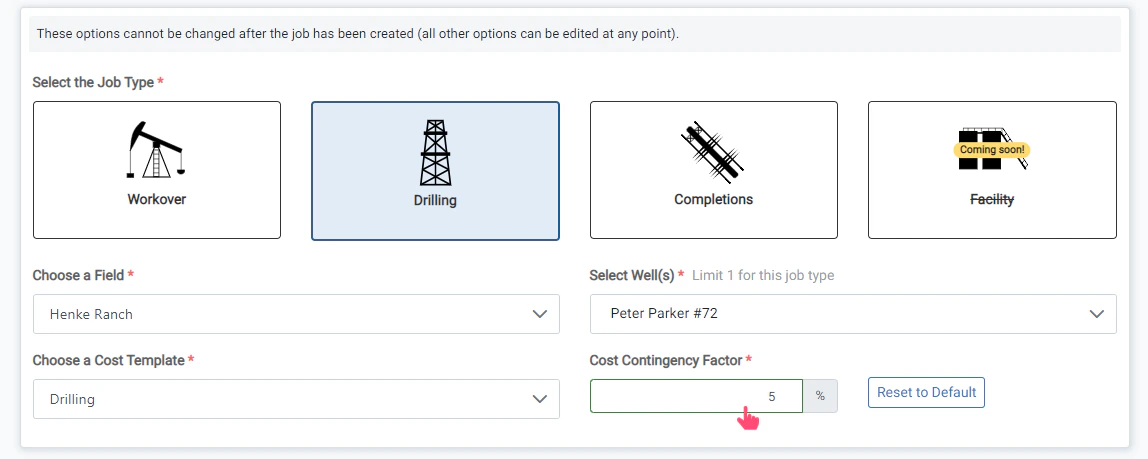
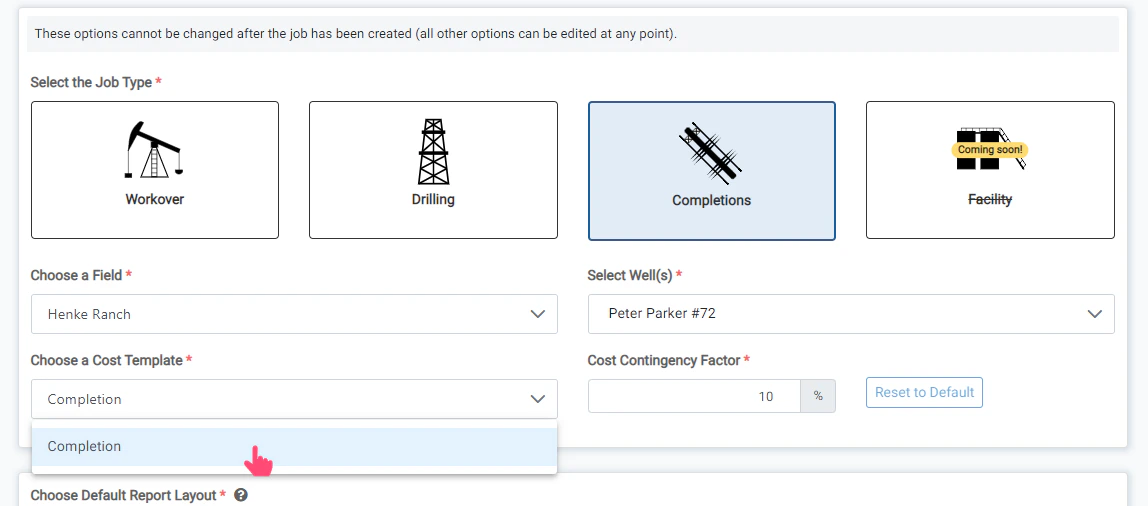
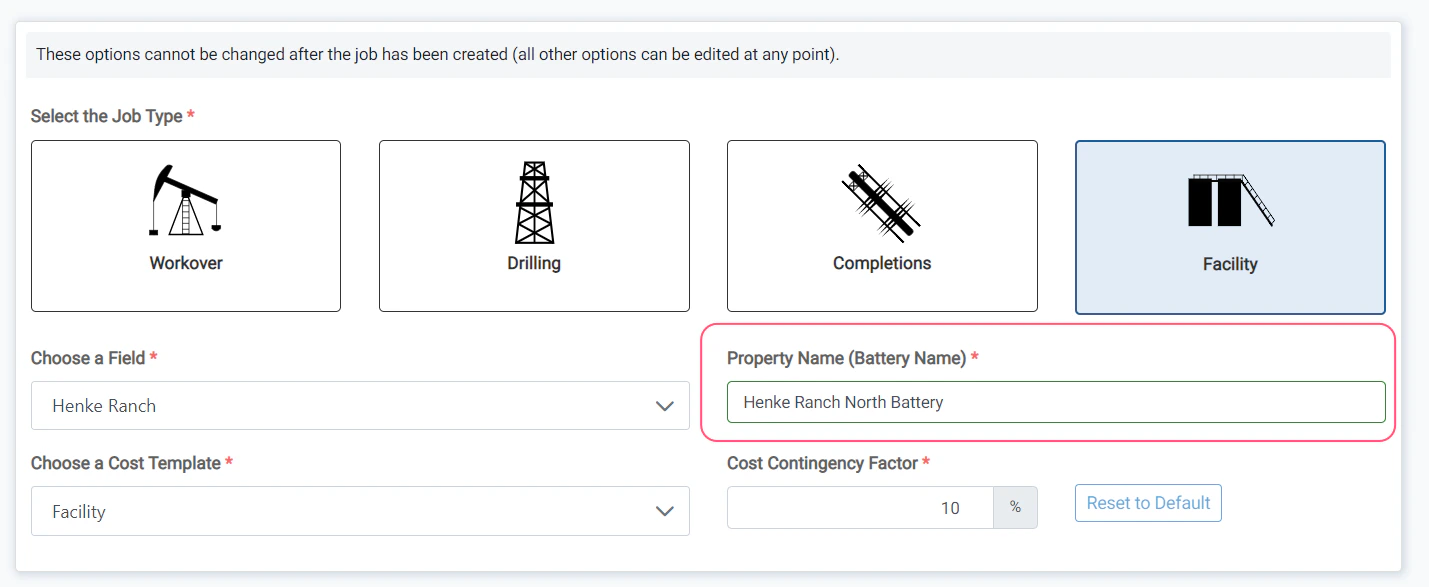
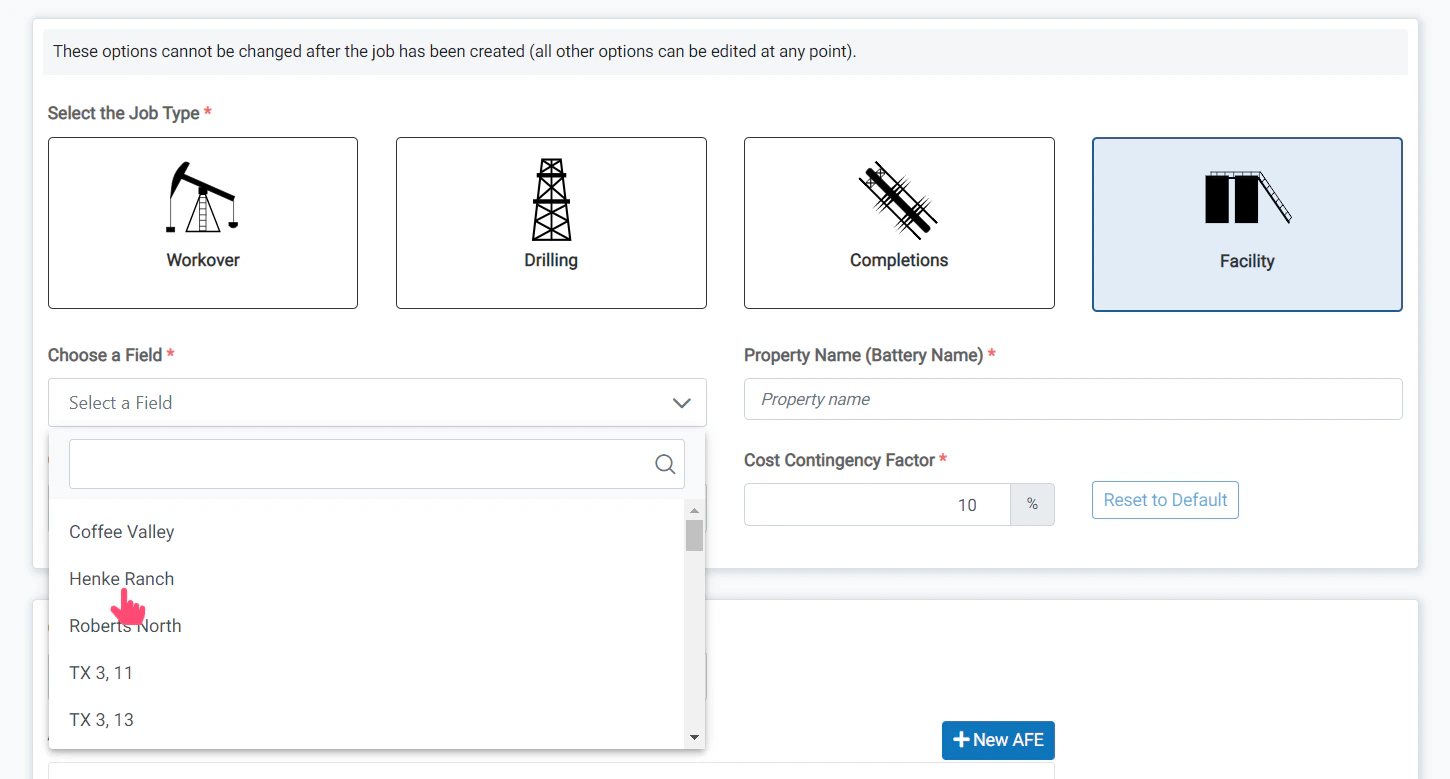
Select the Job Type
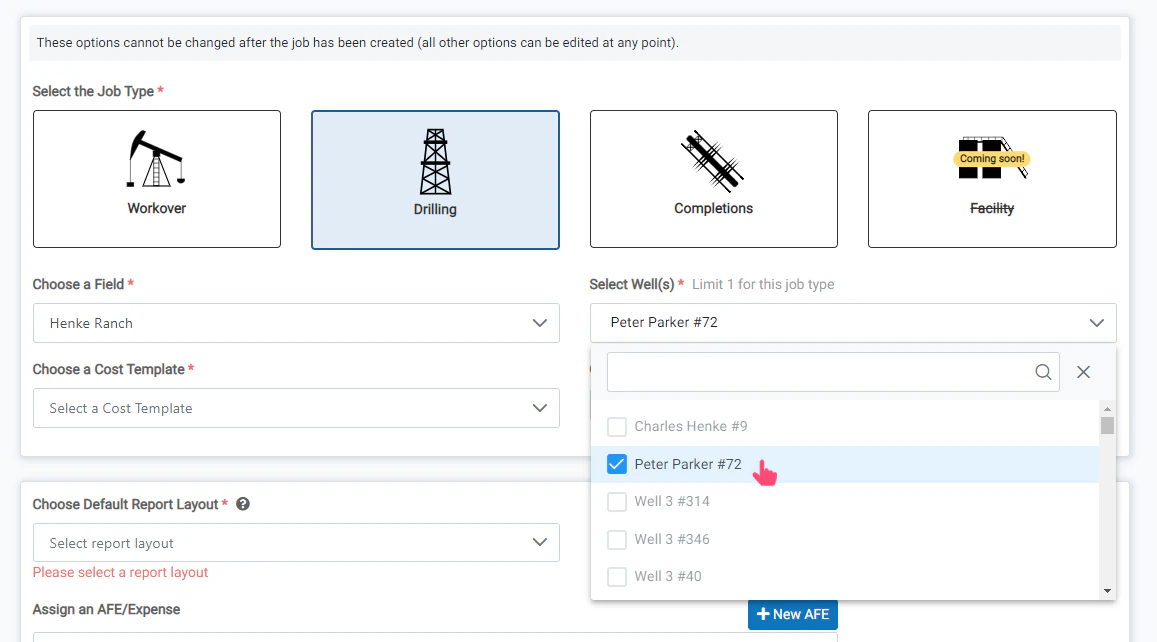
Select a Well
Select the Field
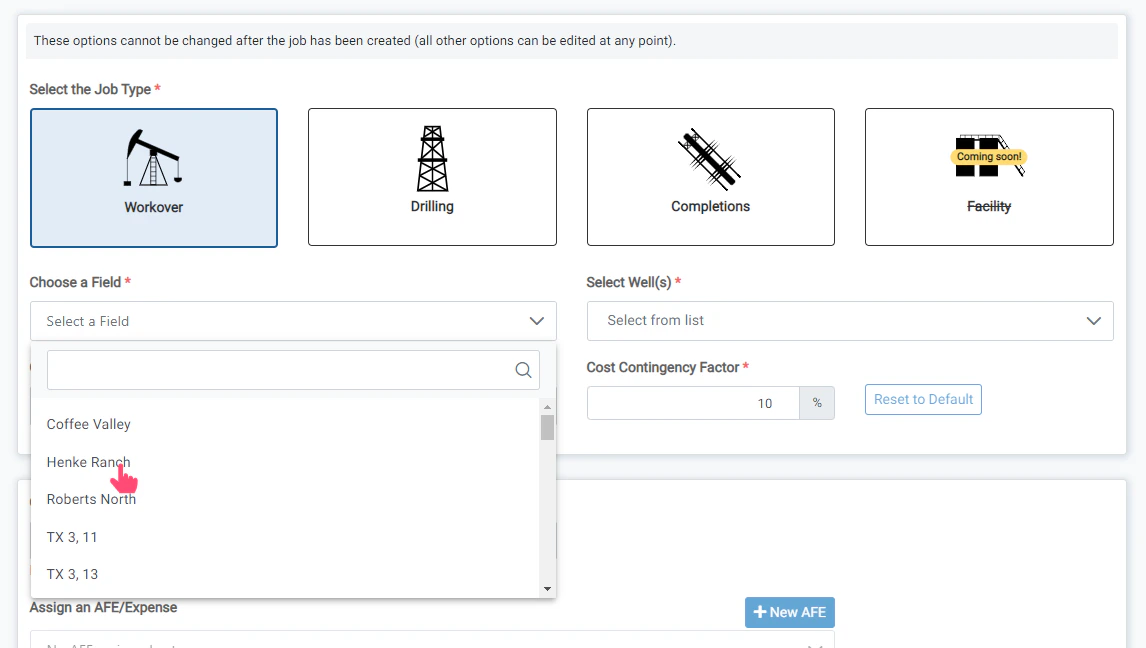
Select the Field
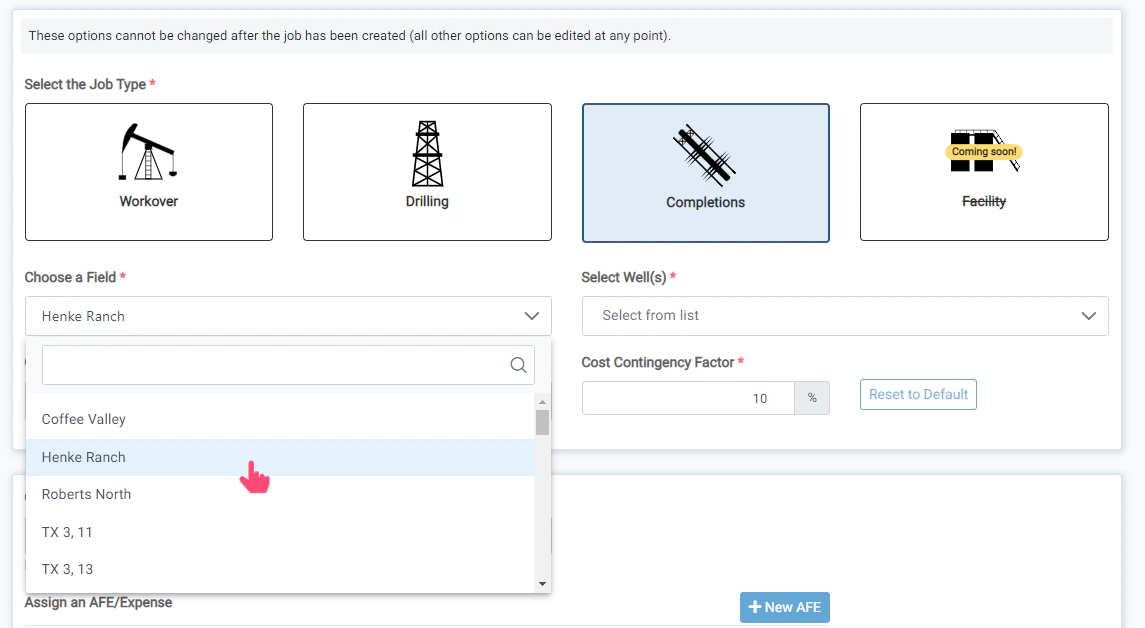
Select the Field
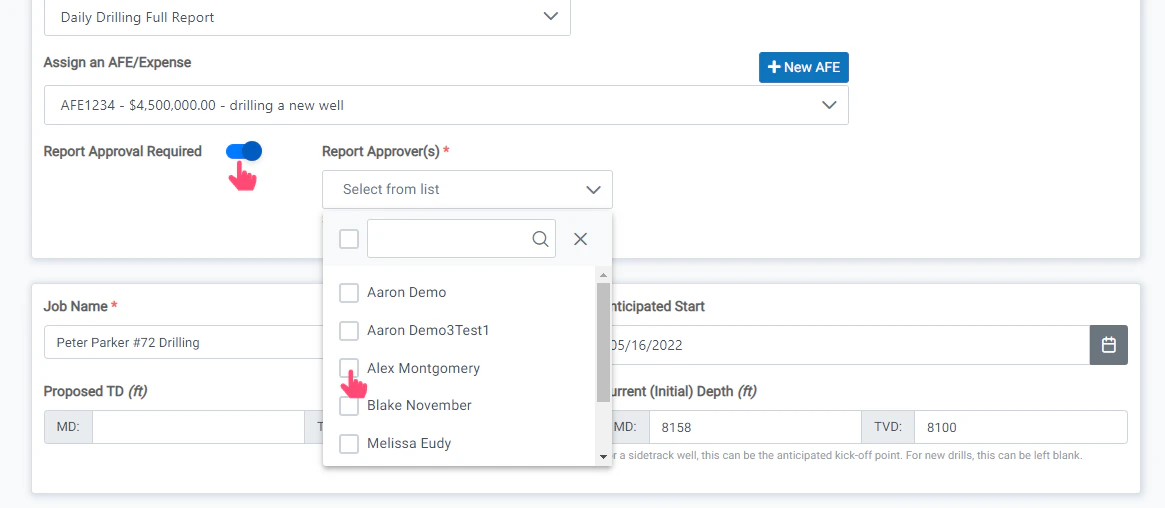
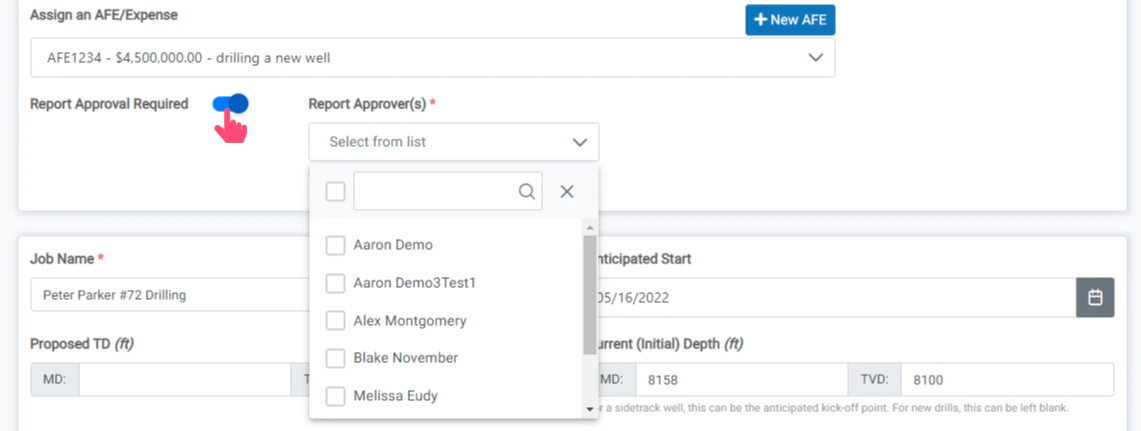
Turn on/off Report Approval
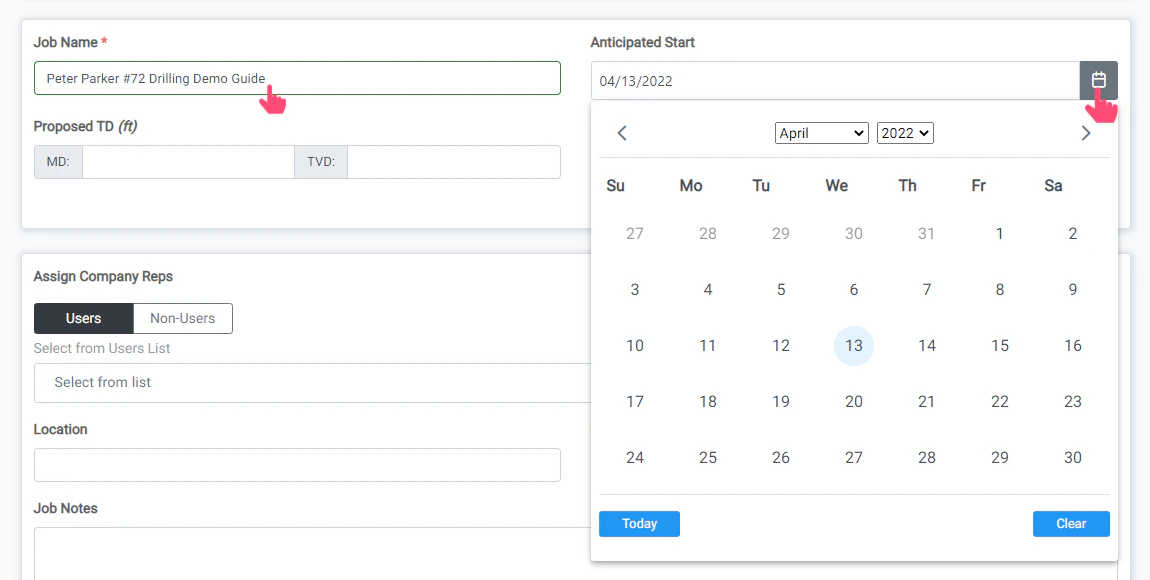
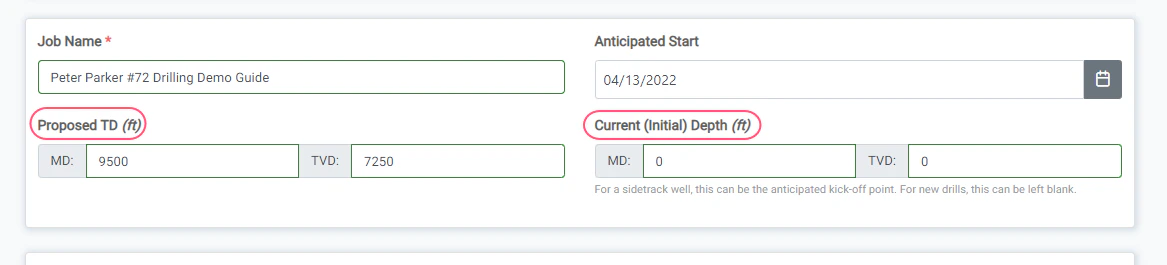
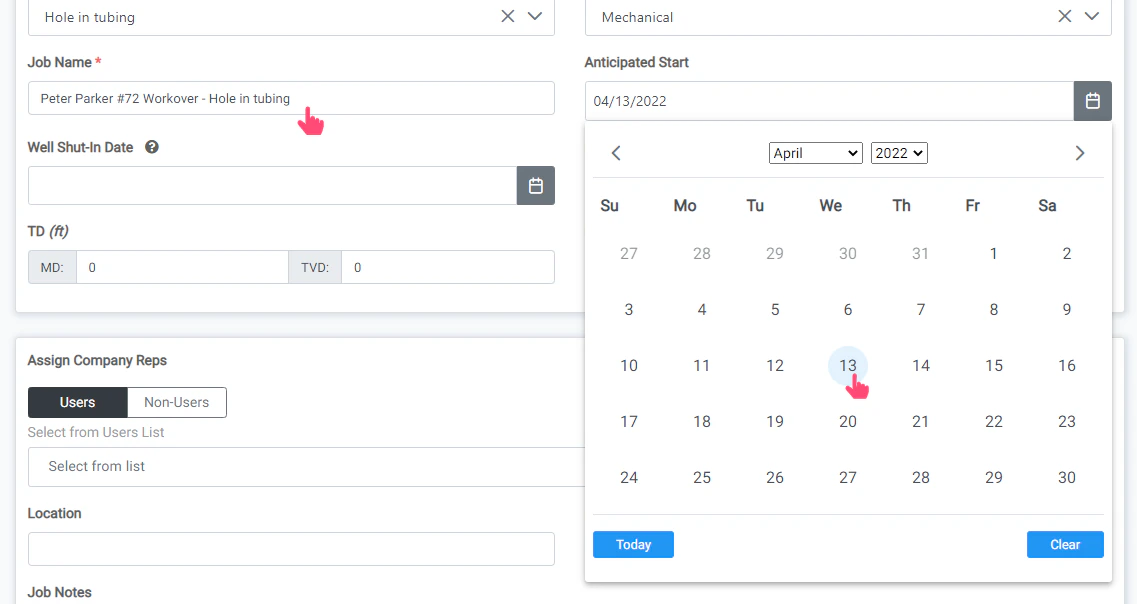
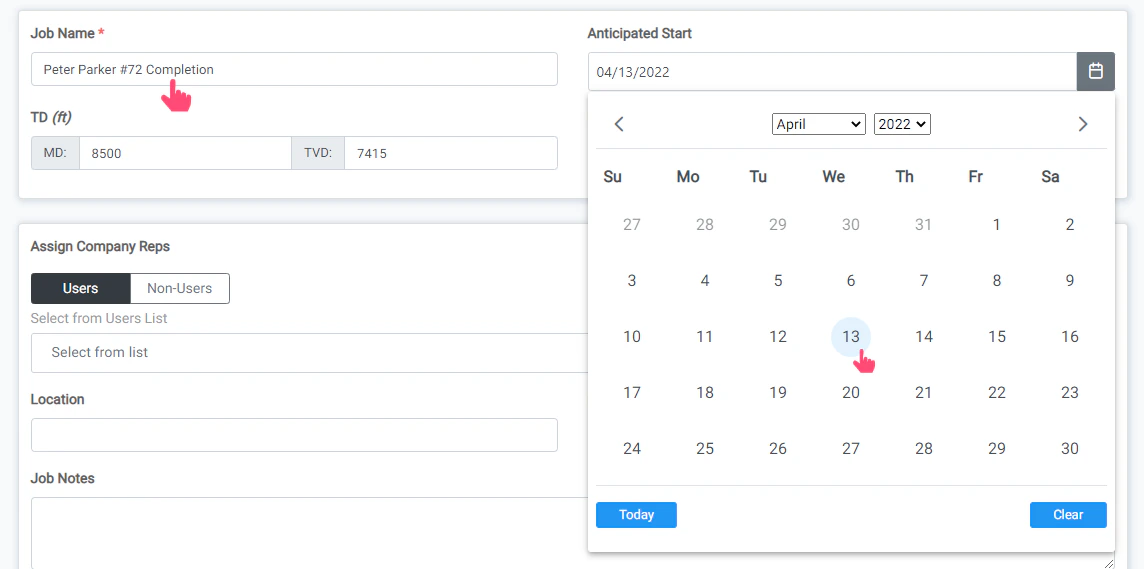
Job Name and Anticipated Start Date
Select the Cost Template
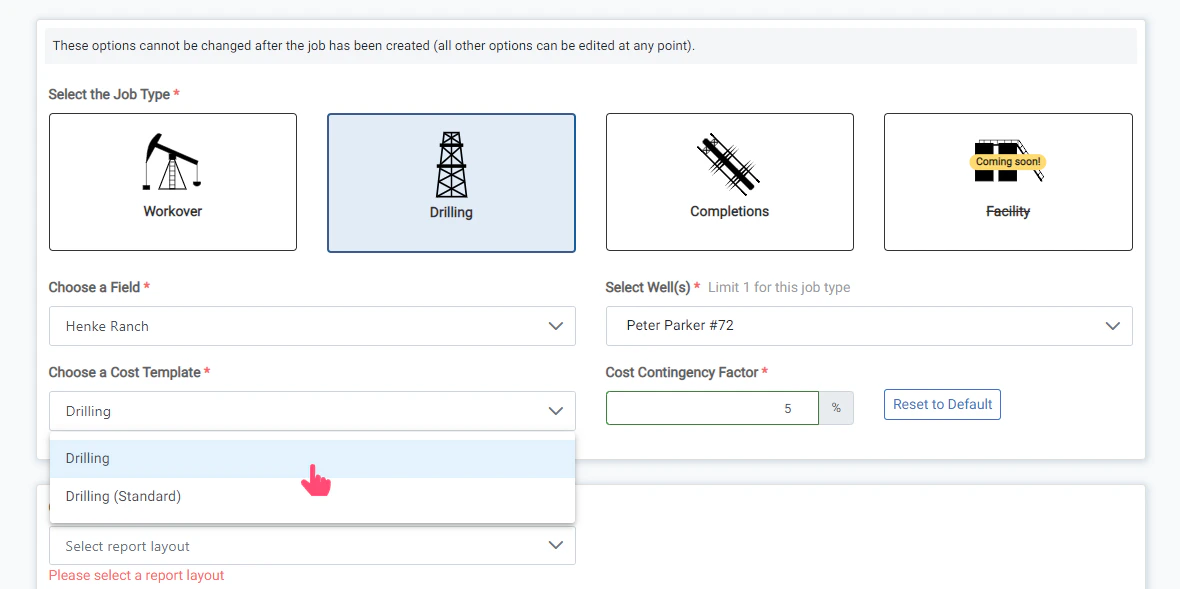
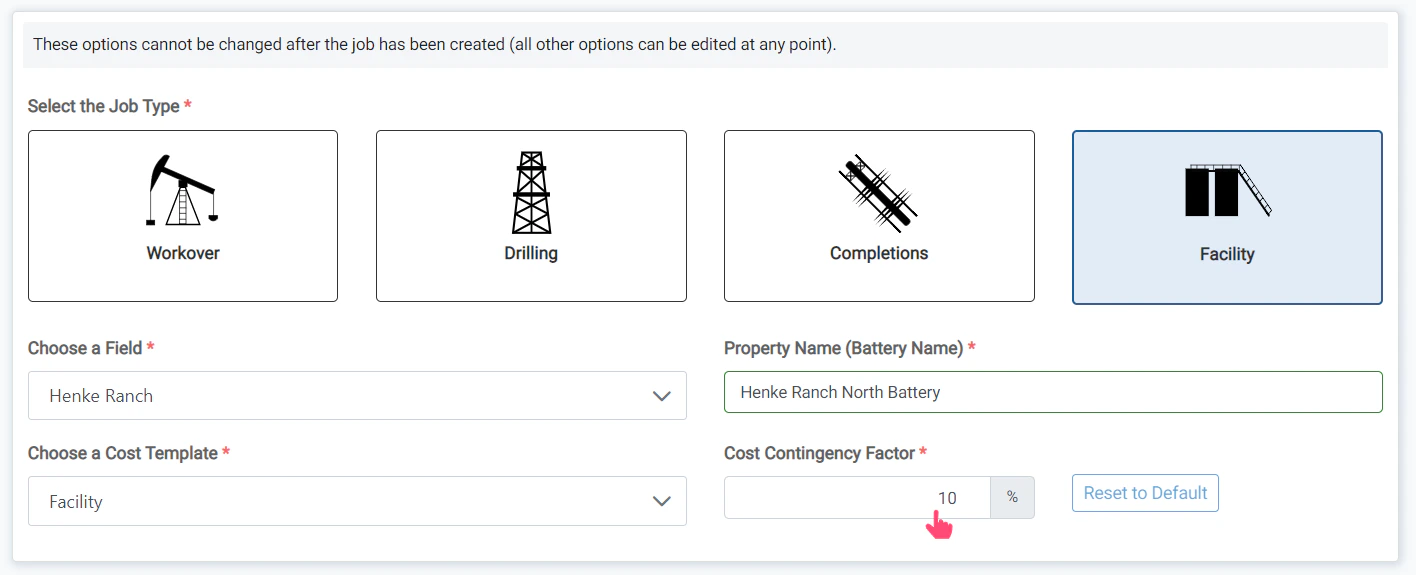
Set the Cost Contingency Factor
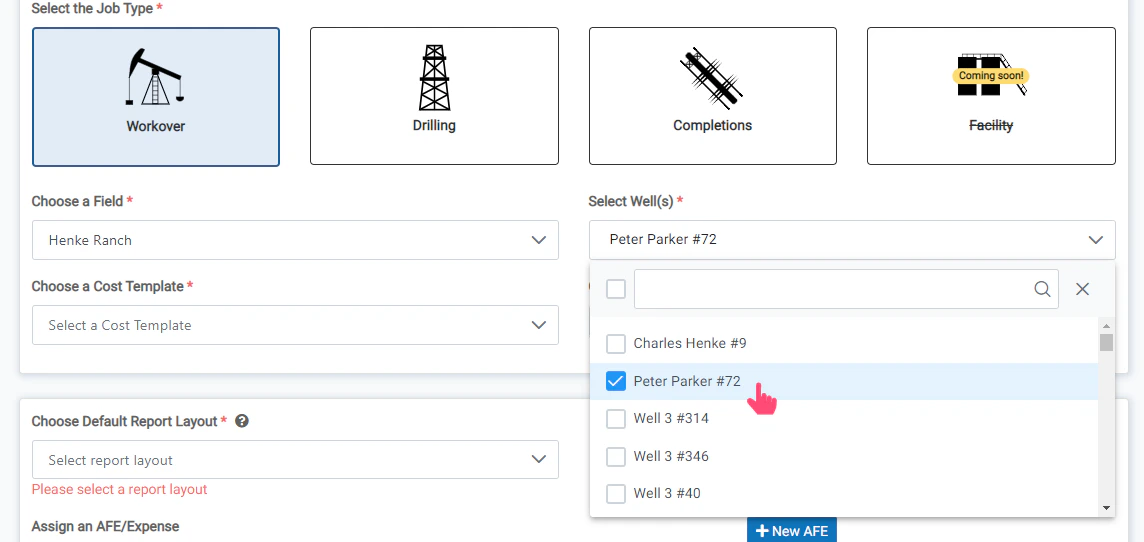
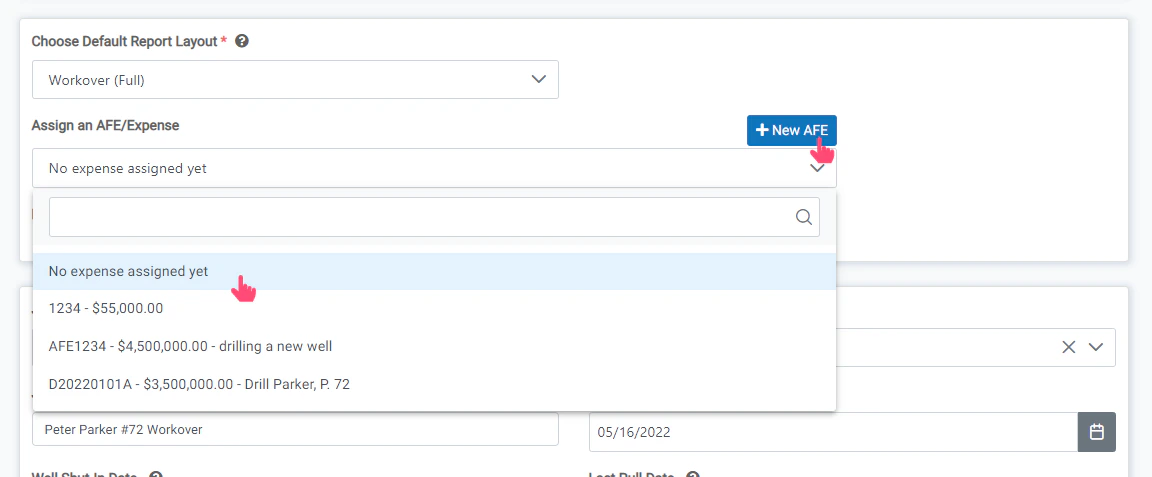
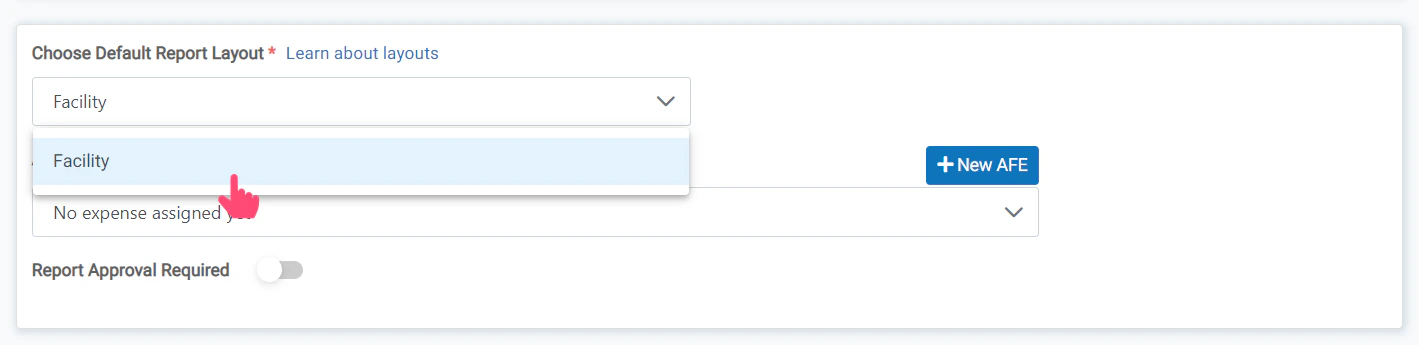
Assign or Create an AFE
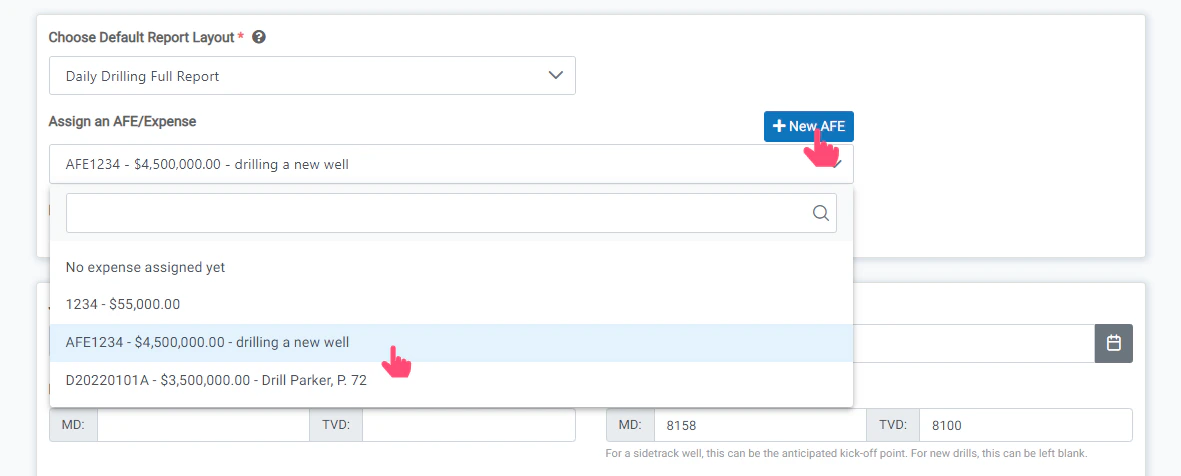
- Select an AFE from the dropdown menu of already created AFEs that are available in RigReports for the well you selected.
- Select the No Expense Assigned Yet option if the AFE will be created later or you will not be using an AFE for this job.
- Create the AFE from here by clicking the **New AFE **button. This will open a window that will allow you to create a quick AFE and assign it immediately.
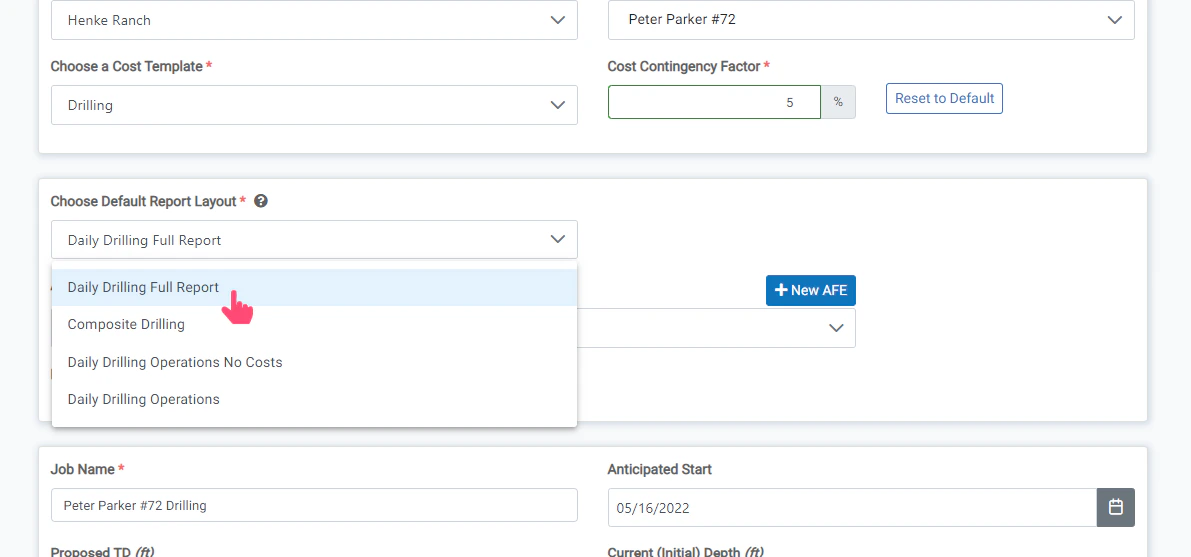
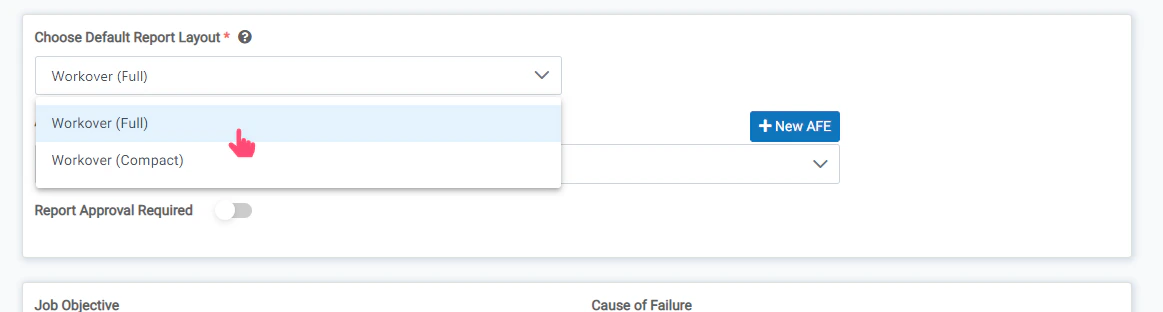
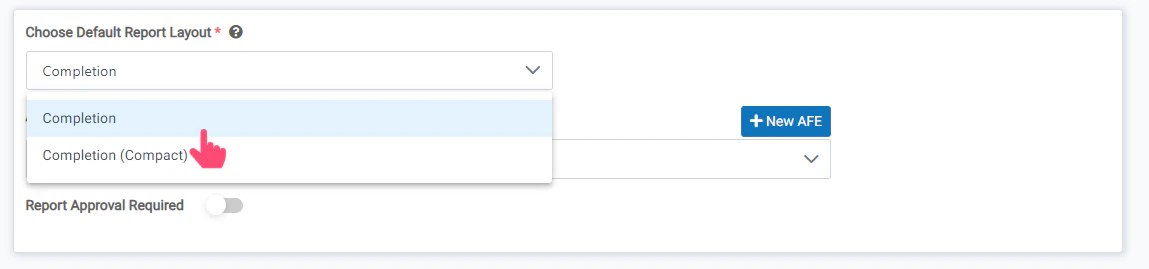
Choose the Default Report Layout
Proposed and Initial Depths
Submit Job

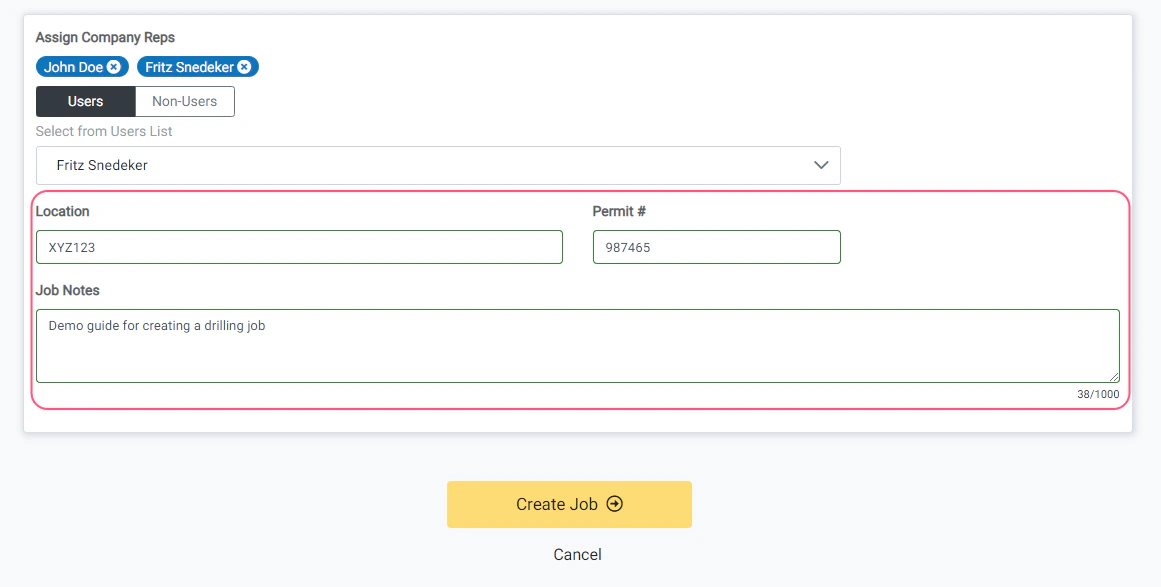
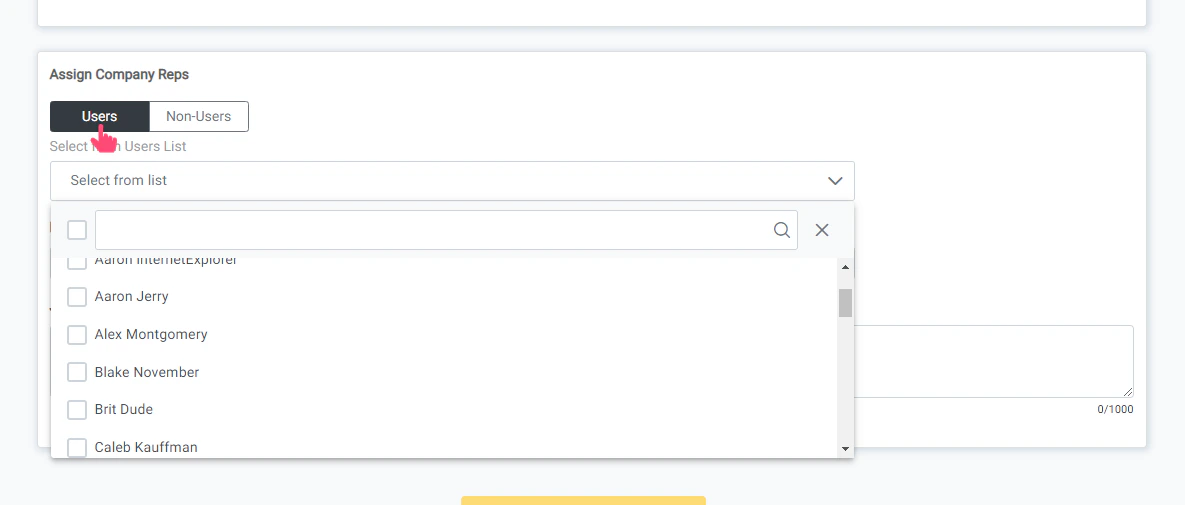
Assign Company Representatives

- From the Users list, select the users that will be entering reports and listed on the report as company reps. This will determine which users have access to create and edit reports for the job. If a user has 3rd party permissions (outside of your organization) and is not assigned as company rep, they will not be able to see or access the job.
- From the Non-Users list, you can select Contacts that you would like to display on the report as Company Reps. These would be personnel that need to be listed on the report as a representative on location, but do not have access to RigReports and will not be editing reports.
Enter Location, Permit, and Job Notes
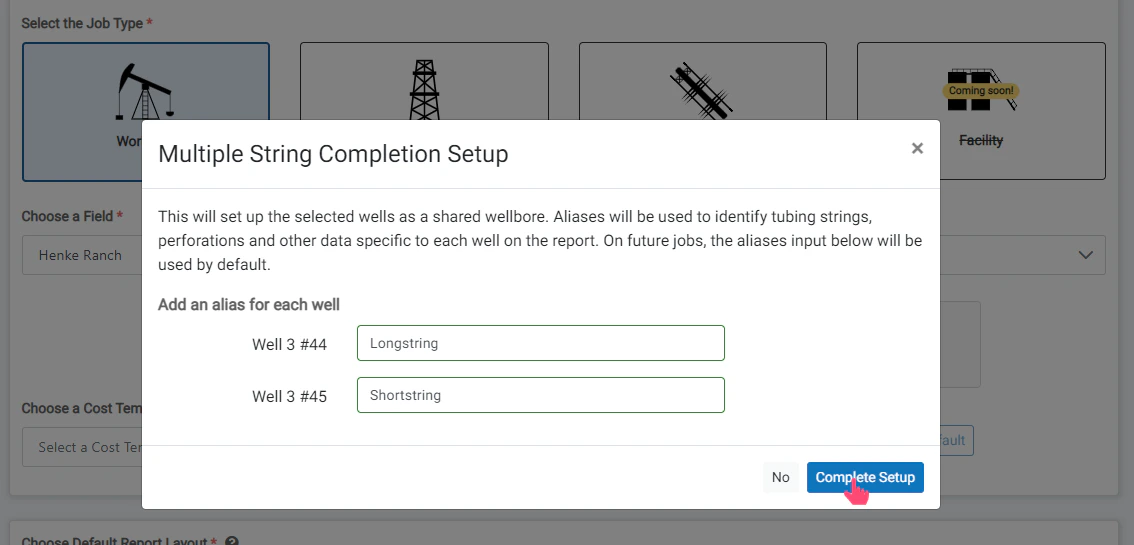
Add Aliases for Multi-String
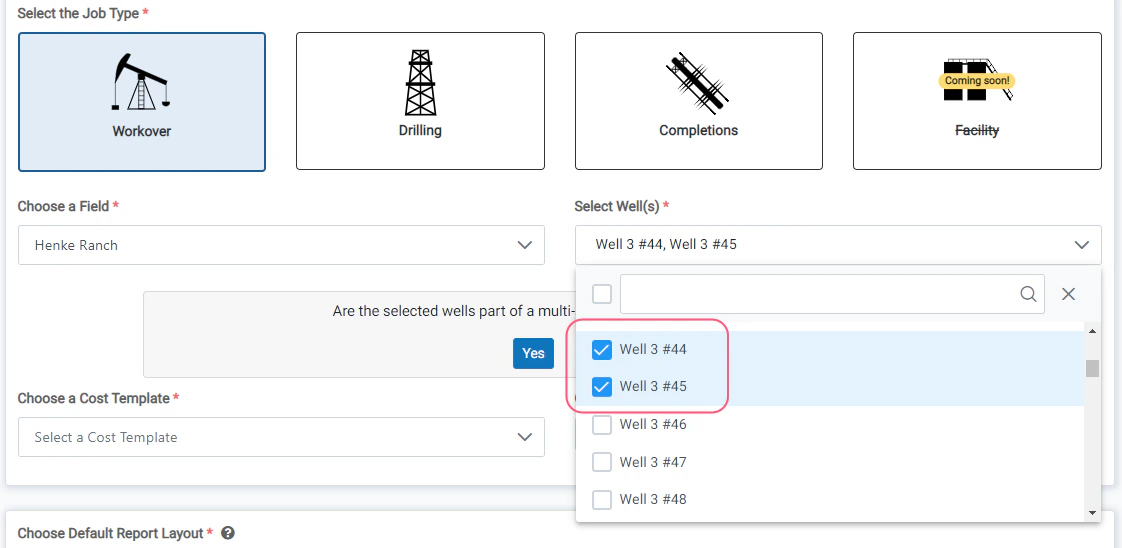
Select Multiple Wells
Select Well
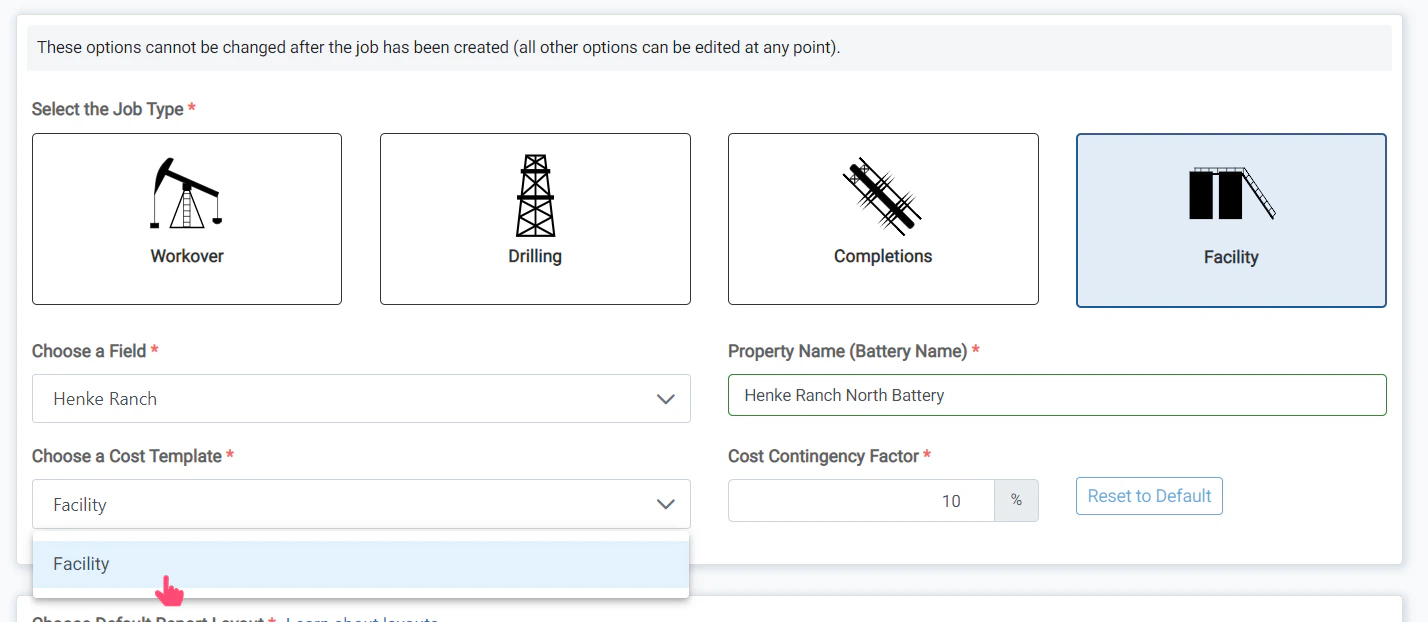
Select the Cost Template
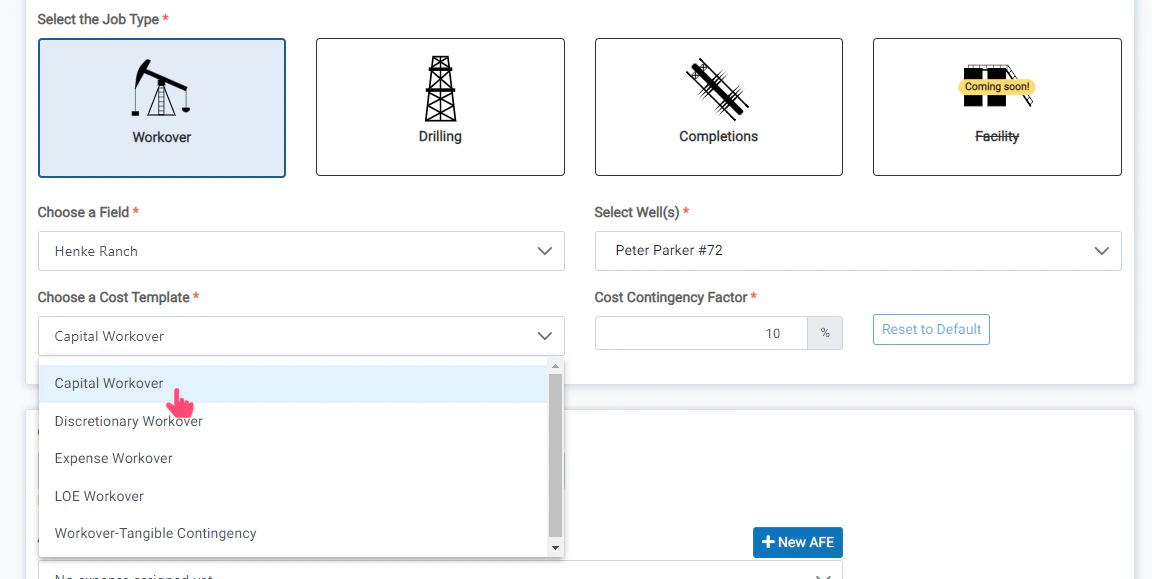
- Select the Cost Template from the dropdown list. This will determine which cost accounts are available for you to assign costs during the job.
- Edit the Cost Contingency Factor that will be used for this job. The Cost Contingency Factor will determine the rate that contingency costs (intangible and tangible if applicable) are automatically calculated during the job.Your organization may have multiple cost templates available for a job type. Sometimes different regions within a organization use different cost codes. If you are not certain which cost template to use, please reach out to your account administrator.If only one cost template is available for the job type, that option will be selected automatically.
Setup Multi String Wellbore

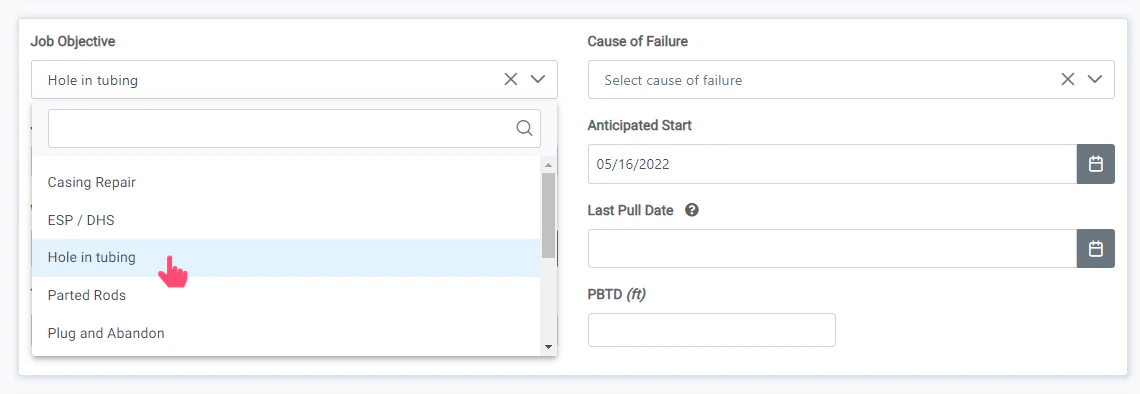
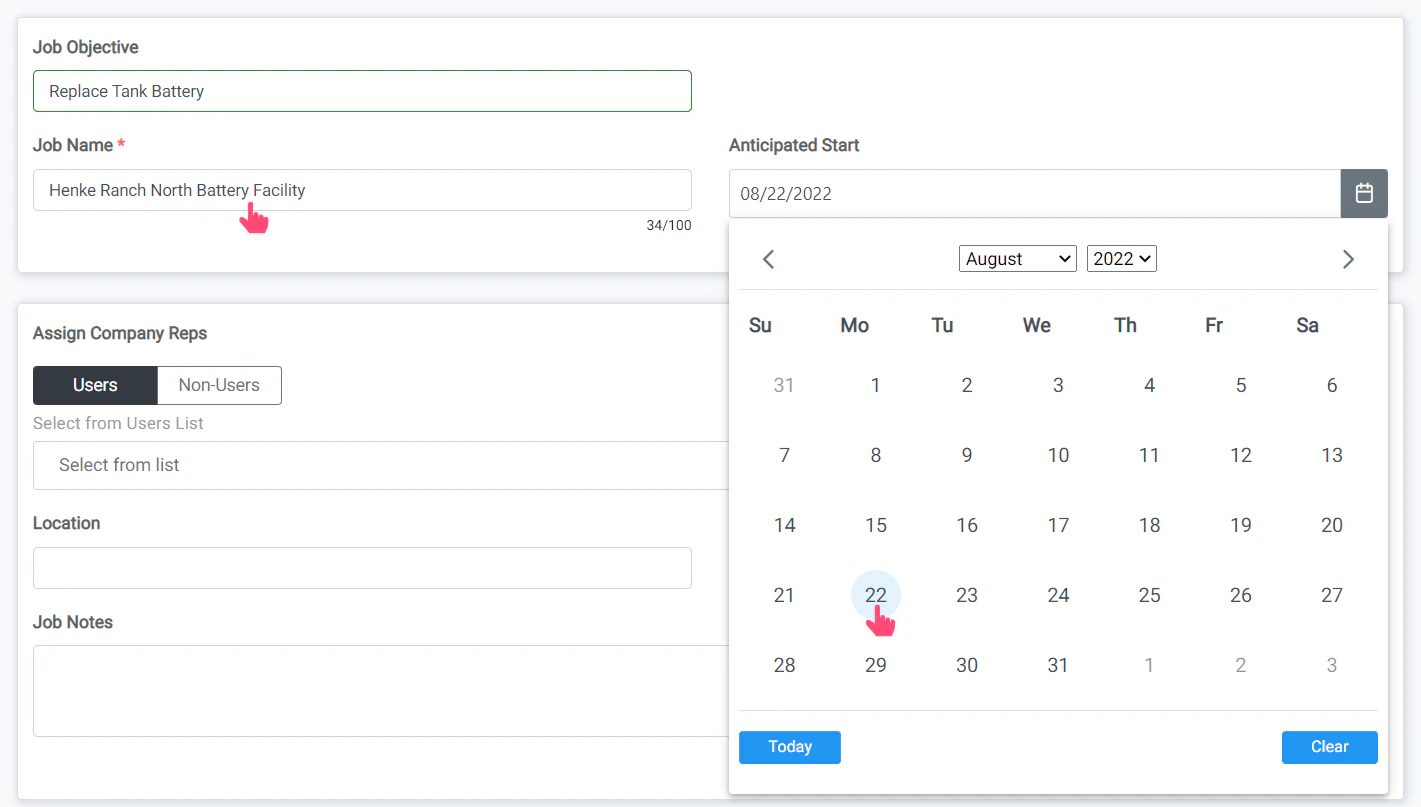
Job Objective and Failure Cause
Assign or Create AFE
- Select an AFE from the dropdown menu of already created AFEs that are available in RigReports for the well you selected.
- Select the No Expense Assigned Yet option if the AFE will be created later or you will not be using an AFE for this job.
- Create the AFE from here by clicking the **New AFE **button. This will open a window that will allow you to create a quick AFE and assign it immediately.
Choose the Default Report Layout
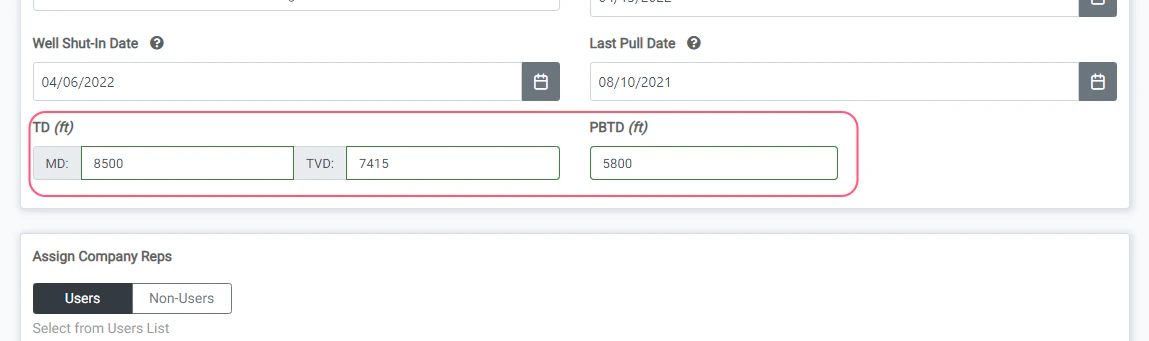
Set the Total and Plug Back Depth
Job Name and Anticipated Start Date
Set Cost Contingency Factor

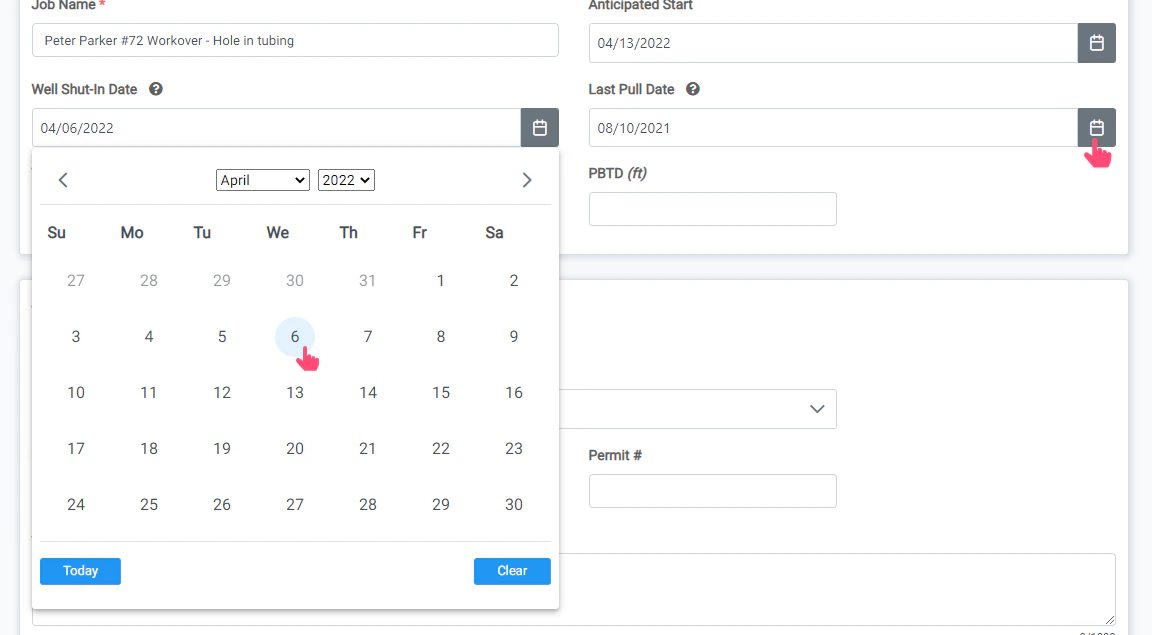
Well Shut-In Date and Last Pull Date
Turn on/off Report Approval
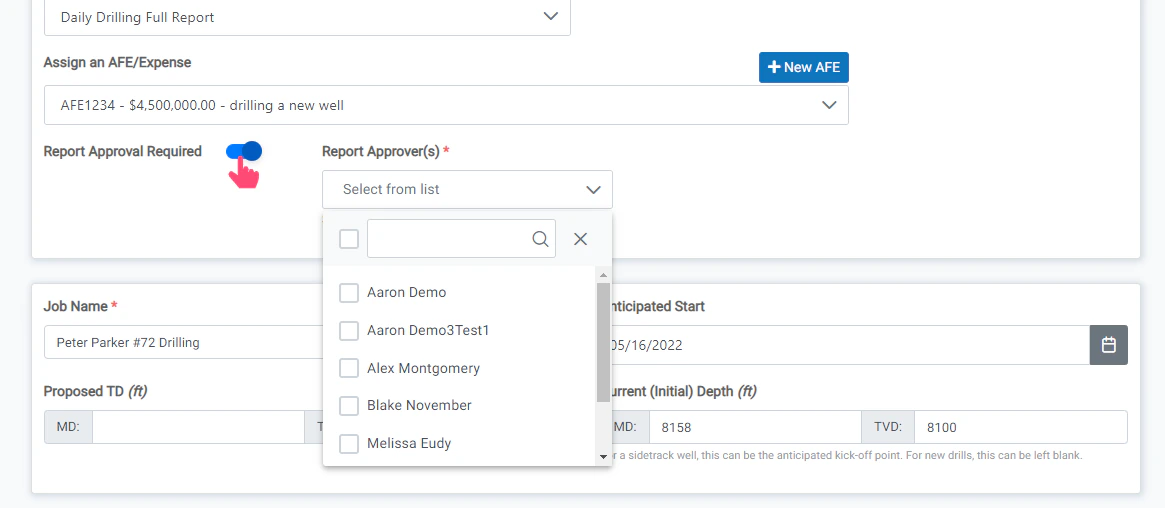
Turn on/off Report Approval

Set the Total and Plug Back Depth

Select the Cost Template
Assign or Create AFE

- Select an AFE from the dropdown menu of already created AFEs that are available in RigReports for the well you selected.
- Select the No Expense Assigned Yet option if the AFE will be created later or you will not be using an AFE for this job.
- Create the AFE from here by clicking the **New AFE **button. This will open a window that will allow you to create a quick AFE and assign it immediately.
Set the Cost Contingency Factor

Choose the Default Report Layout
Select a Well

Job Name and Anticipated Start Date
Job, Objective, Name and Anticipated Start Date
Submit Job

Enter Property Name
Select the Cost Template
Set the Cost Contingency Factor
Choose the Report Layout
Enter Location, Permit, and Job Notes

Turn on/off Report Approval
Assign Company Representatives
- From the Users list, select the users that will be entering reports and listed on the report as company reps. This will determine which users have access to create and edit reports for the job. If a user has 3rd party permissions (outside of your organization) and is not assigned as company rep, they will not be able to see or access the job.
- From the Non-Users list, you can select Contacts that you would like to display on the report as Company Reps. These would be personnel that need to be listed on the report as a representative on location, but do not have access to RigReports and will not be editing reports.
Select the Field
Assign or Create AFE

- Select an AFE from the dropdown menu of already created AFEs that are available in RigReports for the well you selected.
- Select the No Expense Assigned Yet option if the AFE will be created later or you will not be using an AFE for this job.
- Create the AFE from here by clicking the **New AFE **button. This will open a window that will allow you to create a quick AFE and assign it immediately.